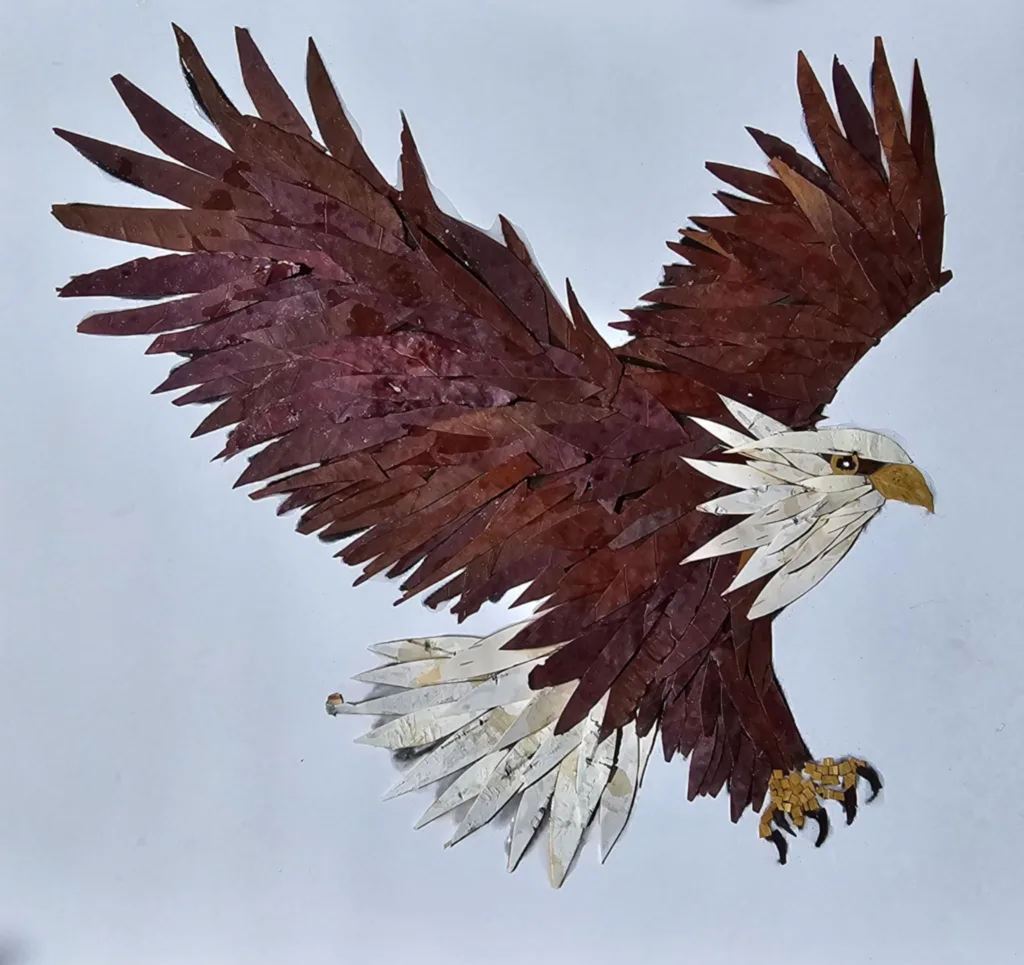
Editor’s note: Turn a simple family (or friend!) walk or hike into a hands-on adventure and craft! This foraged art project invites those who are blind or have low vision to explore nature through texture and scent while collecting leaves, petals, bark, and other treasures.
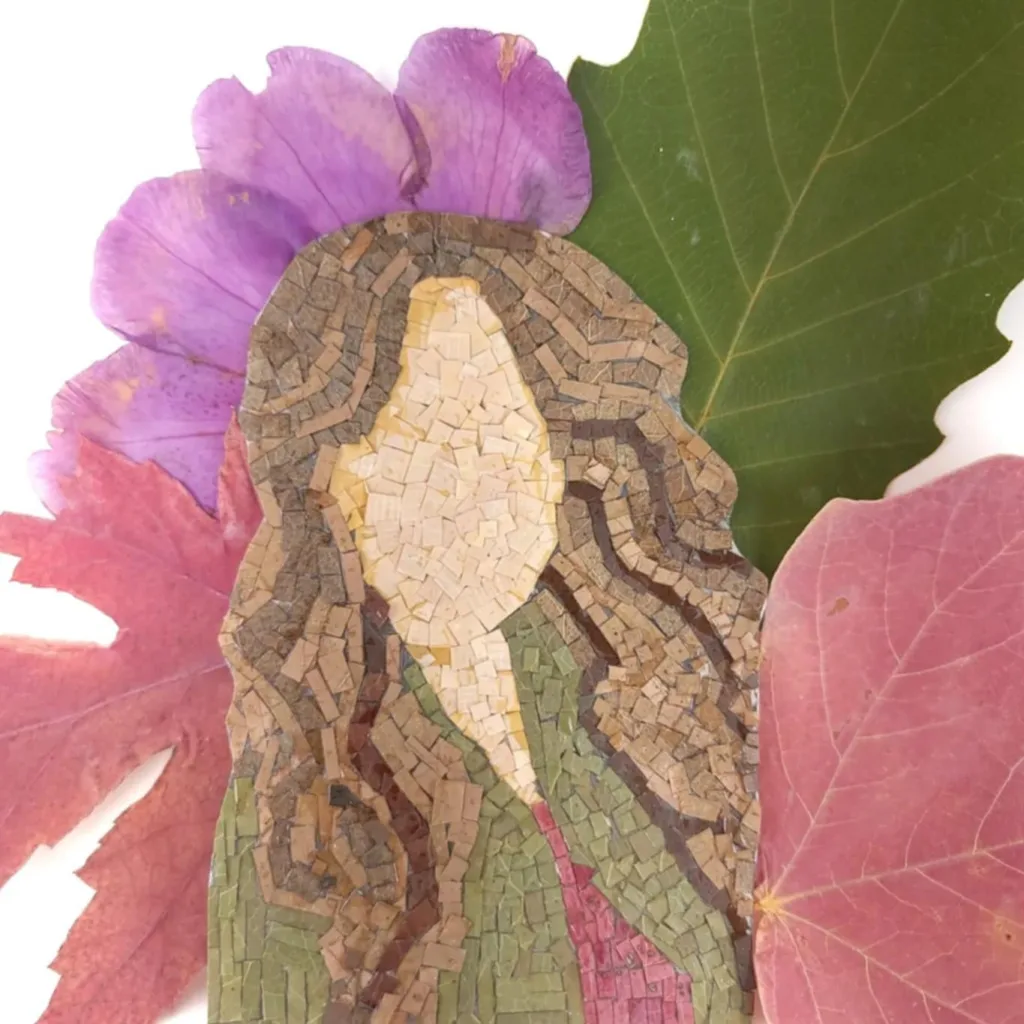
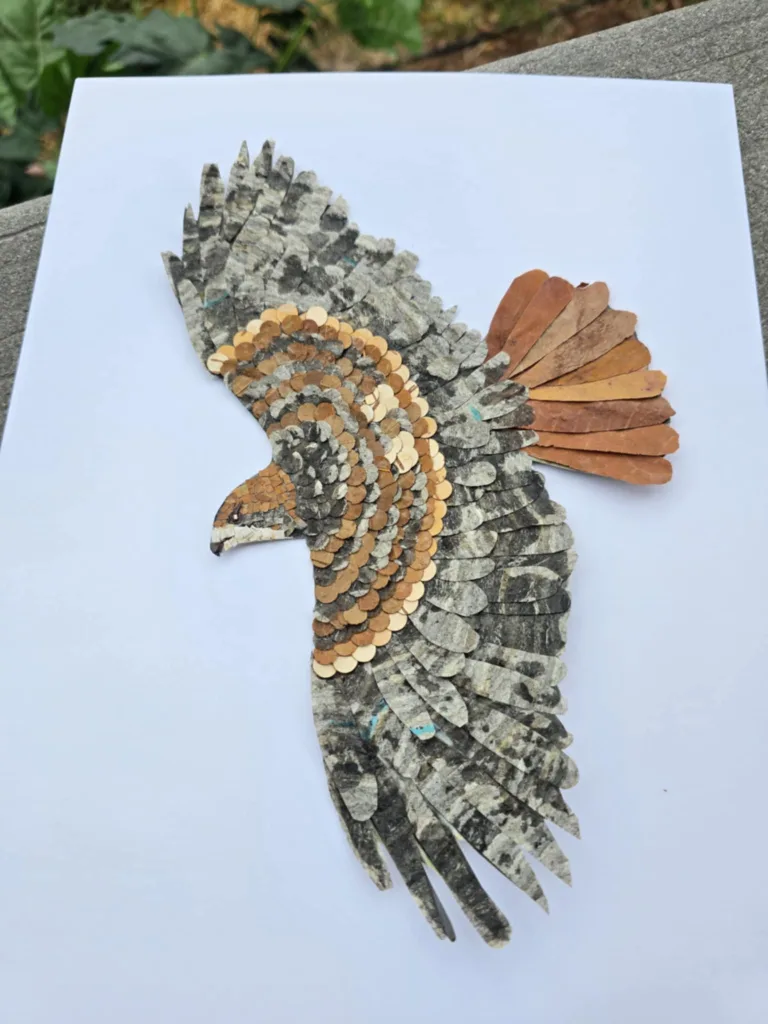
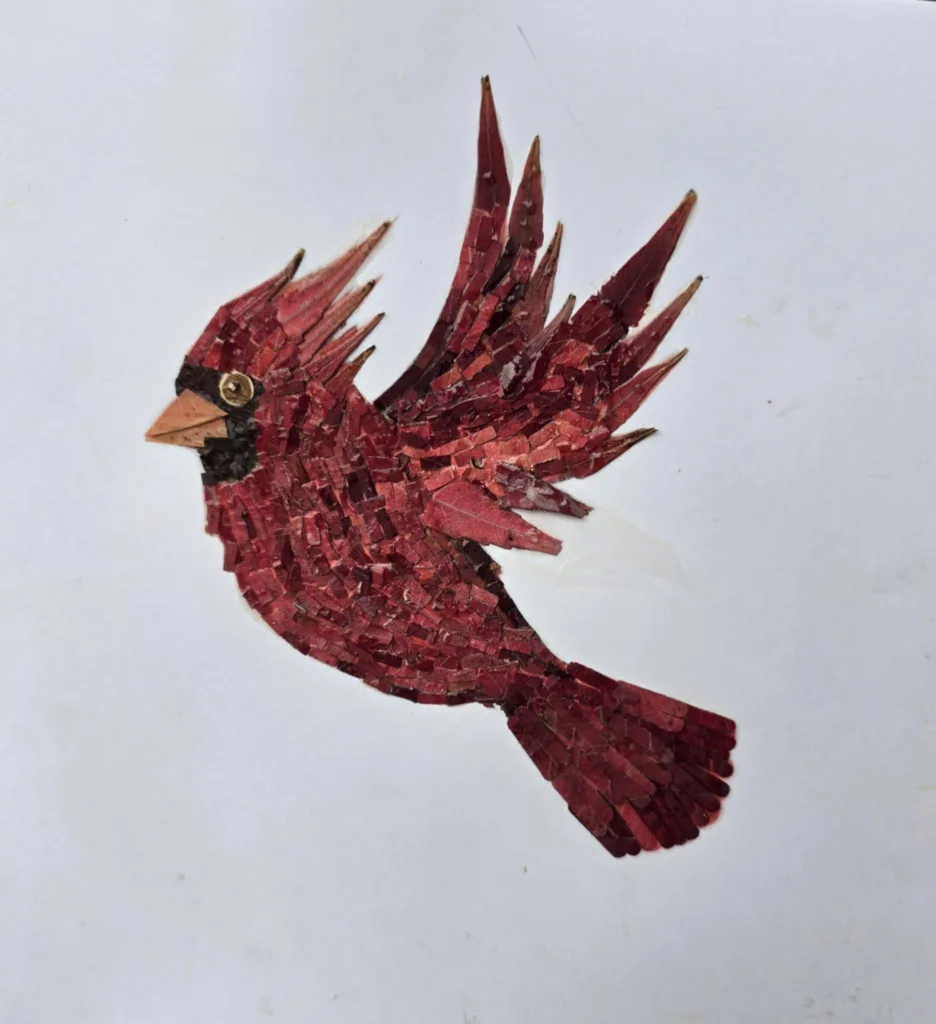
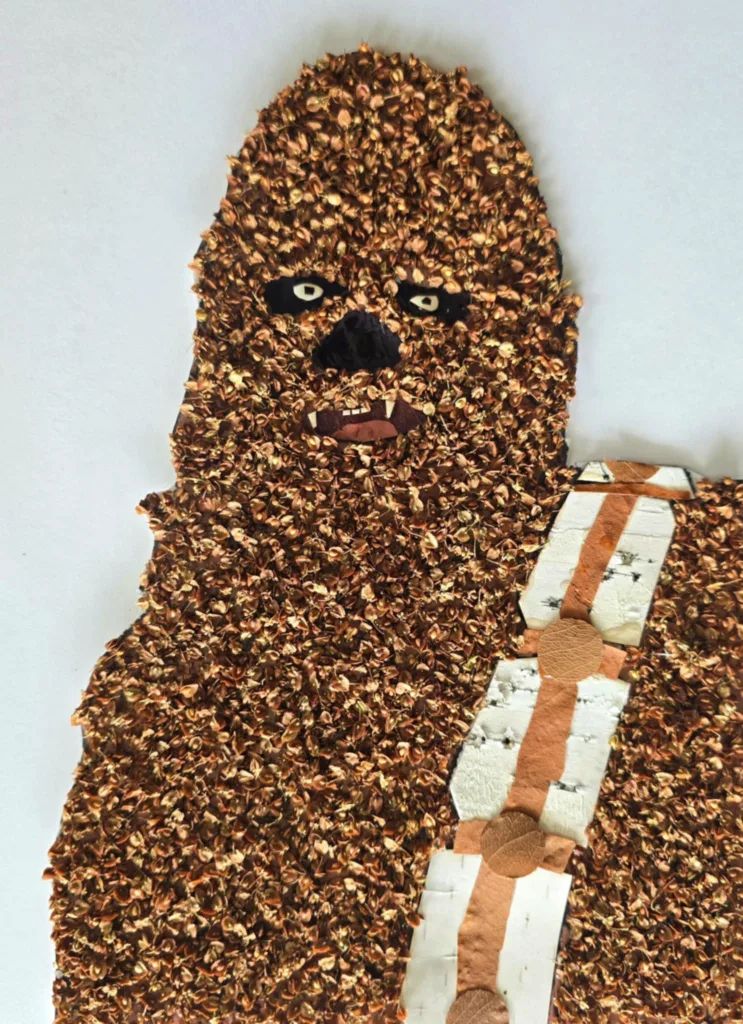
Once your “forage” is complete, work together to create tactile artwork, arranging natural materials into shapes and designs that reflect your imagination. With just a few simple tools, you can make beautiful, touchable art that can be displayed, gifted, or cherished.
Foraged Art Supplies
- Dried, flattened leaves and/or flower petals (pressed and dried in a heavy non-glossy paged textbook for roughly 4-6 days, depending on the thickness of leaves/foliage)
- Heavy Cardstock paper, a flat wood piece (available in various shapes at Hobby Lobby or Michaels), or floor tile. This will be your surface with the outline of a shape of whatever you want to decorate with leaves (heart, bird, star, etc).
- Gorilla glue (or other strong glue that doesn’t dry too quickly and allows for time to work and place leaves down onto the surface)
- Sealer (optional, like Mod Podge or Master’s Touch gloss gel)
- Paintbrush or finger to spread glue around
- Toothpick or large sewing pin to place (smaller) leaf pieces in place
- Paper hole punch or scissors
- A frame (optional for finished art)
Step-by-Step Instructions
- Prepare your leaves and petals.
- Collect supplies such as leaves, flowers, and paper birch bark.
- Place them inside a heavy book (like a textbook) or between two pieces of plain paper inside a heavy book.
- Close the book and leave it for 4-6 days to dry and flatten.
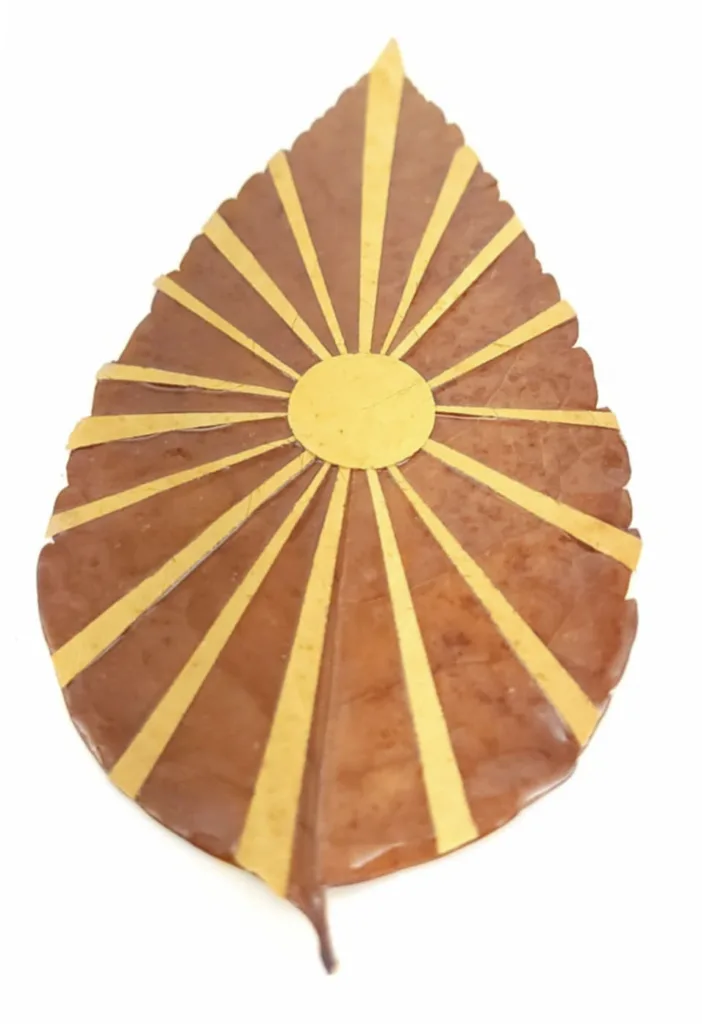
- Cut or punch out pieces.
- Use a hole punch to create small shapes, or cut the leaves, petals, and bark into the desired shape to fill your space.
- You can place cut pieces onto a plain sheet of paper off to one side so they’re not just all over the table.
- Get your picture surface area and outline ready.
- Place a cardstock paper, wood piece, or tile with an outline of a shape in front of you.
- You can use puffy paint or glue string along the outline of a picture and let it dry completely so the outline is raised and easy to feel with your fingers.
- Add glue inside the shape.
- Choose one small section inside the outline to work on first.
- Spread a thin layer of Gorilla Glue there with your finger or paintbrush. Don’t cover the whole shape at once, so the glue doesn’t dry before you finish.
- Pick up foraged pieces and place them within your outline.
- Dip the end of a toothpick (or large pin) into a little bit of glue.
- Use the sticky end to pick up a piece of a leaf or petal.
- Place it inside the bumpy outline, pressing down gently onto the surface
- Keep placing pieces side-by-side until that section is full.
- Continue filling the shape.
- Move to the next section of the outline.
- Repeat the glue-pick-place steps until the whole shape is covered with foraged leaves / foliage.
- Let it dry.
- Keep the picture flat and let it dry for several hours or overnight.
- Seal & Frame it! (optional).
- Once dry, you can seal it with a gloss or matte glue medium using a paintbrush and let it dry again. [Editor’s note: Sealing it is perfect if you will gift the artwork to a sighted friend or family member. If the artwork is for your family or another who is blind or low vision to explore, sealing it will limit full tactile exploration.]
- Place your art in a frame to hang on the wall or give as a gift!
Enjoy the process and the sights, scents, and feel of fall!
Learn More