Blind or Low Vision: Your Toolbox and Safety Checklist
Except for projects that call for precise measurements, most everyday household repair jobs won’t require any special tools adapted for persons who are blind or low vision. You can find almost everything you need at your local hardware store or home center. To prepare for home repairs, consider the following tools to keep on hand and the home repair safety checklist.
Screwdrivers, both straight slot and Phillips
If you’ve done any home repairs at all, you’re familiar with both types of screwdrivers:
- Straight slot drivers have flattened tips that fit into screws and bolts with a dash-shaped slot that runs along the head.
- Phillips drivers have four-pointed tips that fit into screws and bolts with a plus sign-shaped slot at the head.
- The tips of screwdrivers are numbered from 1 to 4, depending on the width and thickness of the tip. For most home repair purposes, a 2 or a 3 tip is adequate.
- Screwdriver handles come in different shapes and sizes. Select the handle that best fits your hand.
Tip: Try using a screwdriver with four or more exchangeable tips. The advantage is that you’ll have one tool to keep track of instead of several.
Hammers
- Many varieties of hammers are on the market, from small, lightweight “tack” hammers to heavy framing hammers.
- Most have claws (straight or curved) opposite the hammerhead, which help pull out nails and pry up boards.
- A tack hammer and a standard 16-ounce hammer are most helpful for most home repair projects.
Tip: Steel handles are preferable to wooden ones. Wooden handles can break if stressed. Also, wooden handles can dry out, which can cause the hammer head to fly off during use.
Pliers and Wrenches
- A standard pair of pliers, or channel lock pliers, and a set of adjustable crescent wrenches (8-, 10-, and 12-inch sizes) should be sufficient for your toolbox.
Tip: Vice grip pliers lock onto the object you’re working on and serve as a third hand and are an excellent addition to your toolbox.
Other Items to Keep Around
- Keep a wide assortment of screws, bolts, and nails so that you can be prepared for the unexpected.
- Duct tape is suitable for holding objects in place so you can work accurately.
- A can of spray-on lubricant (like WD-40) will loosen stuck hinges, dials, and gears.
Safety First
- When working on anything electrical—even something as simple as replacing a light bulb—be sure that the electricity is turned off and the bulb has cooled before you begin.
- Explore the area around the project before you begin. Check over the work area visually and with your hands, giving objects a light touch. You will learn much and are not likely to injure yourself.
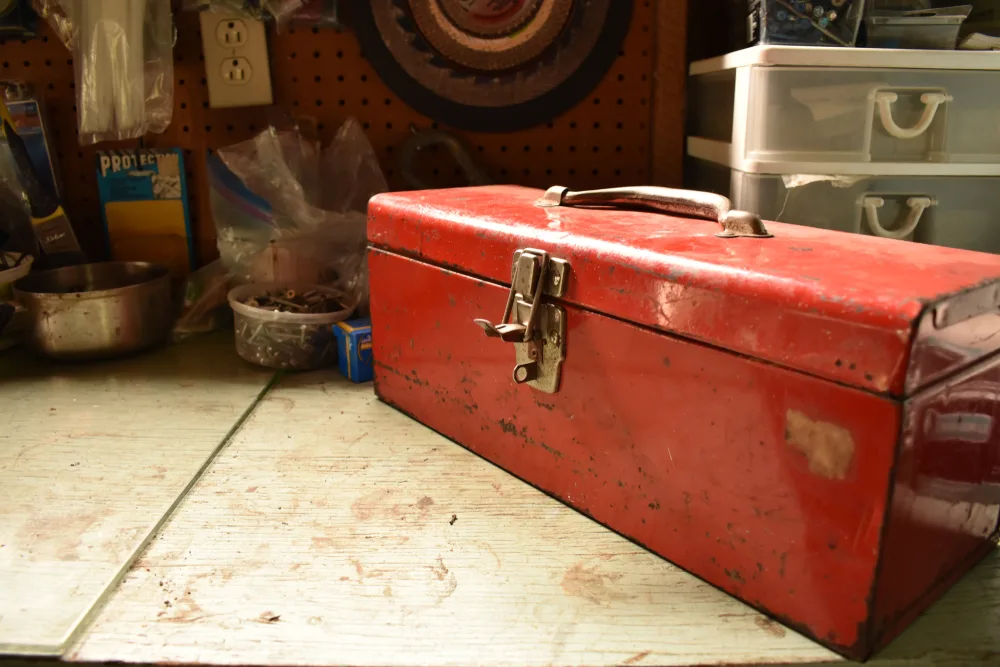
- Select the tools and parts you think you will need in advance. Place items in a small open carrying box secured in a convenient location. Always put tools back in the box once you’ve finished using to them to avoid accidents and misplaced items.
Tips for Avoiding Accidents or Injuries
Many well-meaning people are afraid that persons with little or no vision have a higher incidence of injuries while working with tools, doing home repairs, or making projects out of wood. Thousands of people with limited vision work safely and effectively with hand and power tools all the time.
Here are some tips that can’t guarantee an accident-free experience but can significantly minimize injuries. Many of these suggestions are followed regularly by safety-conscious hobbyists and professionals.
- If you are tired, upset, or have been drinking or using drugs, postpone tackling a home repair project or working with wood, particularly if you are using power tools. All of these can impair judgment and reaction time, which can lead to minor or major accidents.
- If you become fatigued while working on a project, make yourself stop and rest for a while or stop for the day.
- Keep your work area clear to reduce the possibility of tripping or stumbling over something on the floor or bumping into something on the work surface.
- Loose-fitting clothing can easily and very quickly get caught up in your tools, particularly power woodworking tools. If you wear a long-sleeved shirt or jacket with loose sleeves, hold the sleeves back with rubber bands at your wrists or remove the clothing item altogether. Likewise, eliminating jewelry is a good idea, as this can also lead to accidents.
- If you have long hair, secure it before starting a project. Wear closed-toe shoes to prevent injuries in case something falls on your foot.
- If you work in an environment where particles or dust are—or might be—flying around, wear protective goggles to prevent eye injuries. Likewise, if the project you are working on generates dust, wear a protective face mask to keep from inhaling dusty air or potentially toxic fumes.
- Select the “right” tool for the job. It is common for minor or even major injuries to occur if you use the wrong tool for the job or if the tool is too dull to work effectively.
Following these suggestions won’t guarantee that an accident won’t happen, but they certainly will minimize the risk.
Home Repair Resources for Blind and Low Vision
The National Library Service for the Blind and Physically Handicapped at the Library of Congress provides many home repair books on cartridges for free for eligible persons.
Community-based, Home Improvement, and Woodworking Groups
- Many mid-sized and large communities have home improvement and woodworkers’ clubs comprised of individuals interested in home repairs and woodworking projects. Some are focused on sharing information and techniques, while others are more social. These can be informative and enjoyable, depending on the willingness of members to describe their projects and techniques. They can be located by inquiring at building supply outlets or checking Facebook.
- Tip: Most of the members of these organizations have little experience with persons with limited or no vision. However, individuals in these groups can often be very helpful once they understand what a person who is blind or low vision may need and what skills they possess. Being clear about what you may be able to see (if you have some residual vision) and the techniques you have already figured out for yourself is critical to getting the help and coaching you may need.
Sources of Training
- Some state and private rehabilitation centers, schools for the blind, and Veterans Administration Centers offer training for blind and low vision persons using a woodworking shop as the teaching laboratory. You can check the APH Directory of Services for resources in your immediate area.
- The American Council of the Blind in the past hosted a web-based radio show called The Blind Handyman. The hosts discussed a variety of home repair topics. Some of the shows are still available in the ACB archive.
- Woodworking for the Blind members have access to over 500 hours of recordings of fine woodworking magazines on a members-only website. Individual membership is open to all persons who are blind, low vision, or physically handicapped. There is also an active listserv where members exchange questions and suggestions regarding woodworking projects, techniques, and tools. Woodworking for the Blind has developed a woodworking manual and occasionally offers recordings of full-length books on woodworking.
Home Repair Safety Checklist

Although you’ve probably had years of experience with home repairs, we recommend you use a safety checklist that includes the following:
- Organize the work area. Collect all tools and equipment you need beforehand and arrange and sort them before you begin any home repair task. To help keep essential items and equipment together, you can place your materials on a large tray, in a cardboard box, or in a work apron with pockets arranged in the order you plan to use them. Also, consider whether you will require a wastebasket, water, paper towels, tape, or other materials to help you complete the project.
- Organize your tools. Separate your tools according to type and always store them in and return them to a designated location. If you have low vision, wrap contrasting-colored plastic or electrical tape around your tool handles to make them easier to see and to increase contrast with the work surface.
- Protect your eyes. Regardless of your visual status (blind or low vision), always wear impact-resistant safety glasses that completely enclose your eye area and are shielded along the sides and top edge of the lenses. They can be worn like glasses or can fit over your eyeglasses. Many types of safety glasses can also be obtained with prescription lenses.
- Protect your ears. If you’re using a drill, electric saw, or other power tools, you will need ear protection, such as foam ear plugs or headphone-style ear muffs.
- Check the lighting. If you have low vision, make sure that the lighting in your work area provides sufficient illumination. You can read more about lighting at Home Modifications. A lamp with an adjustable flex-arm or gooseneck is usually a good choice because you can adjust the direction of the light as needed. A flex-arm floor lamp on wheels allows you to move the light with you as you move around your work area.
- Use a low-vision device. Talk with your eye doctor or low-vision specialist to determine if a low-vision device, such as a chest or around-the-neck magnifier or a magnifier mounted on a flexible gooseneck stand, could be helpful for some home repair tasks.
- Consider your energy source. Whether changing a washer in a faucet or fixing a light switch, turn off/disconnect the appropriate utility. If you’re attempting a water-related repair, remember to turn off the main water supply before you begin. If you are repairing electronics, turn off the primary electrical power before repairing.
- Use the correct extension cord. The thickness of an extension cord should be equal to, or greater than, the cord on the power tool. Otherwise, the extension cord can overheat and cause a fire or severe burns.
- Know when to request help. If the repair is large or complicated, it may require asking for professional help. While the professional worker is with you, it can be an opportunity to learn more about the specific item or system being repaired so that you can do it yourself the next time!
Organizing Your Workshop Area
Good organization, as always, is the key! In many cases, good organization can also reduce the need for extensive labeling and marking of your workshop items.
Use a system that is comfortable for you and easy to remember. Some suggestions for organizing your workshop materials include:
- Separate your tools according to type and always store your tools in a designated location.
- Organize your tools, such as screwdriver sets or wrenches, by mounting them on pegboards in order by size.
- Use multi-drawer storage containers (color-coded if you have low vision), coffee cans, baby food jars, and plastic tubs to separate different-sized nails, screws, nuts, bolts, and other small items.
- Use a carpenter’s apron or a tool belt to hold tools and parts needed to accomplish a specific job or task.
- Use magnetic trays to hold screws and bolts in place while you’re working.
- Keep a magnet in your toolbox to locate misplaced screws or metal items.
Making Labels from Everyday Materials
You can identify the contents of your stored items by marking them in any of the following ways:
- Create tactual labels for bolts, nails, or screws in individual containers by gluing one of each item to the outside or attaching the item to the container with a rubber band.
- Place a rubber band around a container of nails to differentiate it from a container of screws, or place a different number of rubber bands around each different container.
- Tie different-textured ribbons around the neck or opening of each container.
- Use a black wide-tip marker, a laundry marker, or a felt-tip pen to write in large, bold letters on plain white 3″ x 5″ index cards. Use these labels to differentiate supplies that are stored in similar containers. Attach each card to the appropriate container with a rubber band, as illustrated below:
- Use brightly colored electrical or plastic tape, pipe cleaners, Velcro, fabric or craft paint, or velour pads/furniture protectors to place markers on containers.
Blindness or visual impairment need not keep you from making home repairs. You can do so with the right tools and safety measures.